Is It Worth Getting Back Into Wizard 101
Melissa MistSinger has been an avid player of Wizard101 since the 2008 beta. She has 6 max level wizards and too many pets.
Waterworks: An Essential Wizard101 Dungeon
In Wizard101, Waterworks is a dungeon found in Crab Alley for players level 60 and up. This dungeon was created because the Wizard101 developers wanted to have a purpose for Crab Alley beyond a low-level questing area, so they created a dungeon for players who were at the max level at the time. It has been a classic dungeon for years and provides a ton of nostalgia for older players, while still being highly useful for newbies.
Waterworks is a great location to farm for level 60 gear, mastery amulets for other schools, and mega snacks to train your pet. The hat, robe, and boots you get here are powerful enough to last you up until level 100, so it is definitely worth it to farm for at least a few runs.
Waterworks gear gives all schools some universal resist and has great damage, accuracy, and critical as well. This gear can be difficult to get, however, because this dungeon has cheating bosses (bosses with special rules for fighting them) inside.
This guide will run you through every battle in the dungeon, including the cheating bosses, and it will help you solve the puzzles without triggering additional battles.
The First Tunnel: Two Easy Mob Fights
When you enter the dungeon, you will be floating around in a big chamber with 4 different tunnels. To start doing the dungeon, pull the lever, and enter the first tunnel. Each of these tunnels has two rooms. Both rooms in the first tunnel contain easy mob fights.
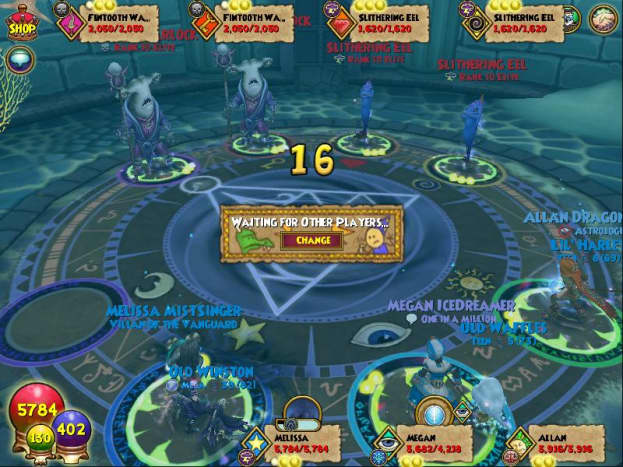
The first room, assuming you have a group of four, will have two Fintooth Warlocks (Death) and two Slithering Eels (Storm). The second room will have two Hydromatic Drones (Ice) and two Rivershell Guards (Storm). Just switch to your mob deck, blade yourself, and use an attack that hits all enemies. You will want to have a few cards in your deck to quickly find what you need. At the end of the second room, pull the lever to unlock the next area.
The First Tunnel


The Second Tunnel: Clam Puzzle
Before entering the second tunnel, you may want to make sure that your whole group enters at once. This is because the first room contains a timed puzzle where you have to open clams before the red wisps in the room disappear. Make sure you open the blue clams and not the yellow ones, or you will have to fight a battle against four Swimming Specters (Sun). Although they are sun school, they have no incoming boost or resist, so any school can kill them easily without prisms.
The Clam Puzzle
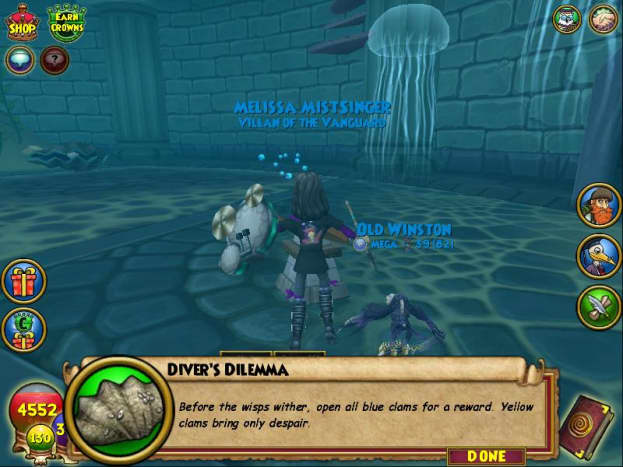


If you pass this puzzle, you'll be happy as a clam.
The Second Tunnel: Luska Charmbeak
Once you are through the first room, you will encounter the first cheating boss in this dungeon, Luska Charmbeak, who is a balance boss. He is the only boss that drops the Waterworks hat, so if you are farming for the hat specifically ask your team before you start if you can just farm up to this point. Don't pretend you're doing the full dungeon and leave after this boss. Luska's cheats are as follows:
- Luska will take off traps you put on him unless it is a pet trap, a trap all spell like windstorm or mass feint, or a trap protected with indemnity. Also, if you put a multitrap spell like fuel on him, he will only remove the first one.
- At the start of each round, Luska will "ink" the person in the sun spot with a -45% mantle, and then put a feint on all other wizards in the circle. When he loses 25% of his health, the second wizard in the eye spot will also be inked. When he loses 50%, the third wizard in the star spot will be inked. If you go in last in the fourth spot, you will never be inked, so it is a good idea for your healer to go in last.
- If you are not inked and you cast a single target spell on Luska (this includes weaknesses, prisms, and traps), then he will remove all shields and traps from everyone and hit the offending wizard with either a 1200 damage skeletal dragon or a 2100 damage power link. Ouch. This means that it's best to hit with attacks that deal AOE damage (hitting all enemies instead of just one).
Taking these cheats into account, the best way to do this fight is to send your hitter in first and your healer in last, and blade up for a one-hit kill. Treasure card blades may make this easier if you don't have a balance or a death wizard.
Life wizards may find it beneficial to put triage in their decks in case someone forgets the cheats and triggers a skeletal dragon or power link.
If you have a myth wizard with you, you could send the myth in first and have them dispel Luska with vaporize so you can trap without punishment. When using this strategy, however, it's best to wait until the following round to cast a trap because there is a chance the inked myth wizard could fizzle.
Read More From Levelskip
Once Luska is defeated, pull the lever he was guarding and continue to the next area.
Luska Charmbeak
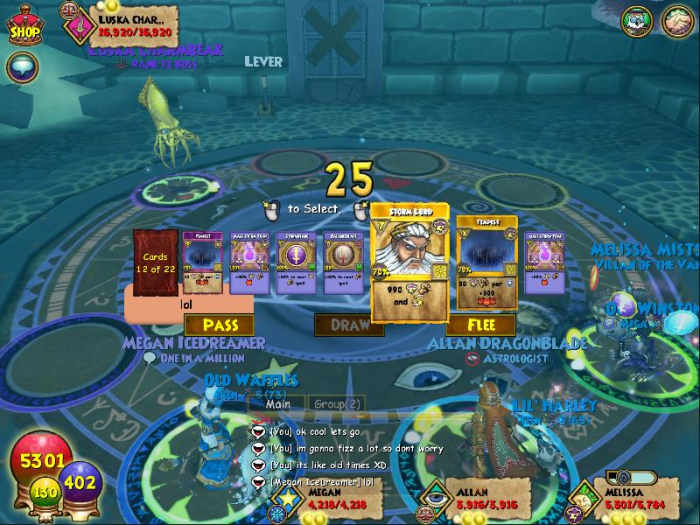
Here is the fight with Luska. Say goodbye to your accuracy when you're inked.
The Third Tunnel: Two More Mob Fights
This tunnel is straightforward, there are two rooms with mob fights. The first battle is against two Fintooth Marauders (Death) and two Wingfin Slicers (Fire). The second fight has two Rivershell Shamans (Balance) and two Stormtide Elementals (Ice). Just blade up, kill them all, hit the lever, and move on to tunnel number four.
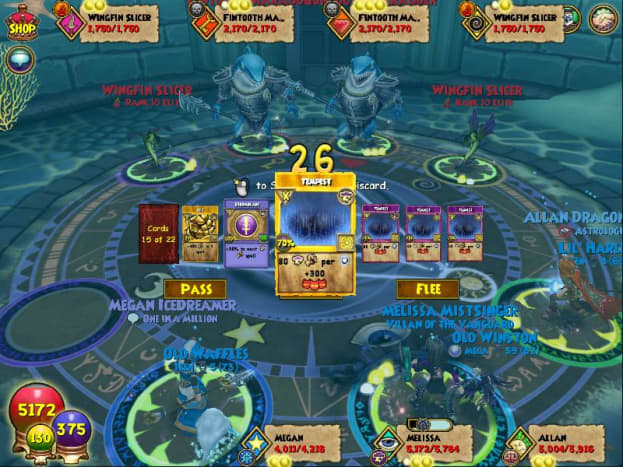


More sharks and fish. It's like a seafood buffet, only these guys probably don't taste very good.
The Fourth Tunnel: A Puzzle, Then One Last Mob Fight
There is one last mob fight at the end of this tunnel, against two Celestian Constructs (Moon) and two Riverclaws (Life), but before you get there you have to get past the second puzzle of the Waterworks.
To start playing follow the leader, read the book and an eel will appear, stopping at each lever you need to pull. It's best that only one person pulls the levers, so you don't accidentally summon four Slithering Eels (Storm) to battle.
When you are done with both the puzzle room and the second room, it is time to go back to the large center chamber and face Sylster Glowstorm.
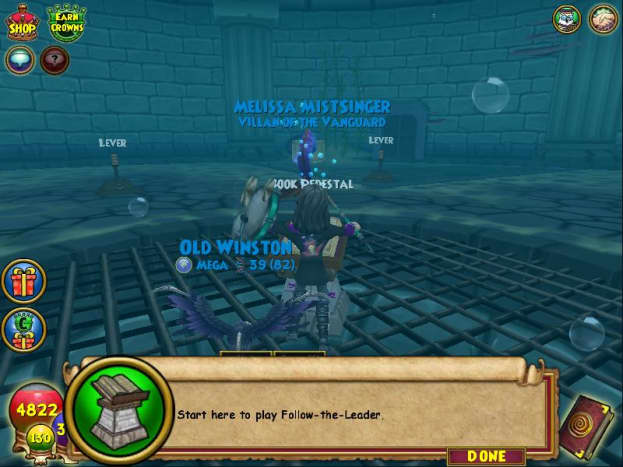
Here is the follow the leader puzzle. How good are you at following directions?
Sylster Glowstorm And His Buddies: An Exercise in Counting
When you enter the center chamber again, you will need to close the drain valve. This summons Sylster Glowstorm, a star boss who drops the Waterworks robe and boots, and his two friends Spellhammer Sorcerer (Death) and Water-wing (Fire). These guys have cheats that revolve around a cycle of rounds:
- At the beginning of the first round, Sylster will cast a white Doom and Gloom bubble. When the white bubble is up, you can only cast traps, not blades.
- This will last until round four, when he switches it to a black bubble, meaning you only have the first three rounds to trap. When the black bubble is up, you can only cast blades and not traps. The cycle from then on is four rounds, and then the color will switch.
- When the color switches, all buffs are removed, so you must use them before the cycle is done. This means that you can't buff up for a one-hit kill. Also, since the bubbles are Doom and Gloom, it is difficult to heal.
- If you use a blade during a white bubble round, it will be instantly removed. The same goes for using a trap in a black bubble round.
- Do not use a single target attack if you don't have a blade in a black bubble round or if you don't have a trap in a white bubble round. If you do, Sylster will use a 1630 damage Ra, the Water-Wing will use a 375 Rebirth with no absorb, and the Spellhammer Sorcerer will use Scarecrow. This is likely to put your team very low on health, so look carefully at the situation before you cast.
- The bubble cheat cycle will continue even if you kill the boss, because the minions will take over casting the bubble.
The best way to get around these cheats is to have multiple people buff up and hit on the last round of the current bubble. It really helps to have someone count the rounds in chat so you know when the bubble is about to switch.
Support players may find it easier to shield the team to prevent damage or help buff the hitters, because healing through the Doom and Gloom is not as effective.
When you finish this fight, you will receive the badge Waterworks Warrior, and hopefully, you will get some good gear!
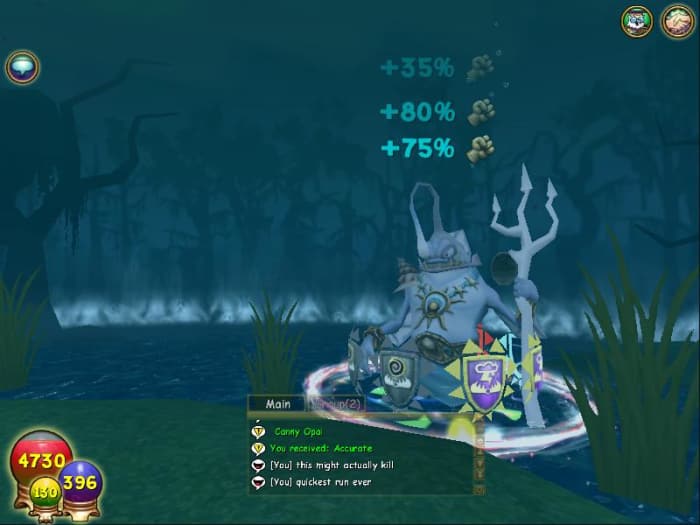
Stacking feints during the trap rounds helps a lot in the fight against Sylster.
Waterworks Drops
To figure out if you've gotten the Waterworks gear, here is a list of set names by school:
- Storm wizards will receive the Skyscream set.
- Fire wizards will receive the Firestarter's set.
- Myth wizards will receive the Tricksy set.
- Death wizards will receive the Hangman set.
- Balance wizards will receive the Judgement set.
- Ice wizards will receive the Frostbit set.
- Life wizards will receive the Esprit set.
This set of gear will last you a long time and will make you feel very powerful for a while, so it is worth farming for. It is notable in the fact that every school gets universal resist when equipping Waterworks gear. The gear also gives a nice damage boost from Bazaar gear or the Mount Olympus set, as well as higher accuracy and power pip chance. Alternatives to this gear are the crafted gear from Carax Strongthread in Sudrilund (you must be a grandmaster artisan or above), or the gear dropped in the House of Scales by Ammit.
The bosses of this dungeon also drop mastery amulets, which let wizards use power pips for another school. These are potentially very useful if you like running a secondary school, and can allow you to take on other roles in battle. Wizards of any level can use these, so you can pass them on to another wizard if you get the one for your school.
Another drop that's good for passing around to other wizards on your account is mega snacks. Mega snacks give high amounts of pet experience and stat increases to your pet, making pet training quicker and more efficient. You can really power up your pets by farming Waterworks.
Whatever you are hoping for, Waterworks is a great dungeon to farm again and again. Good luck with your farming, and I hope you get all the drops you want!
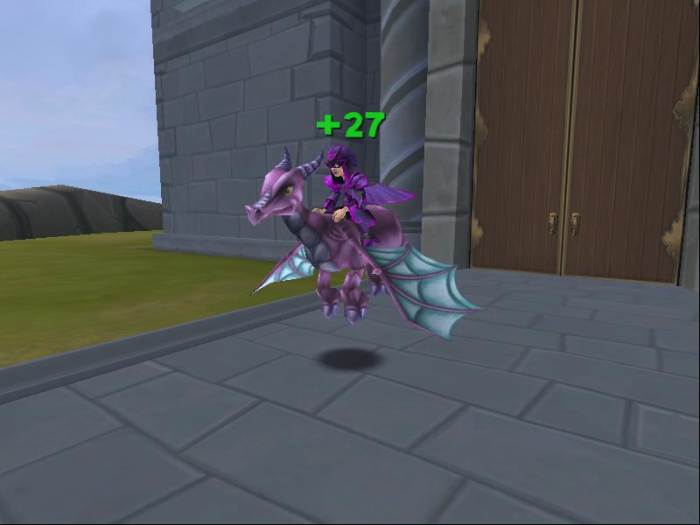
My storm wizard in her full Waterworks set.
© 2020 Melissa Clason
BRENDA ARLEDGE from Washington Court House on October 11, 2020:
Interesting write. I imagine this will definitely help someone figure it out.
I don't play, but you did a great job on details.
Is It Worth Getting Back Into Wizard 101
Source: https://levelskip.com/mmorpgs/Under-The-Sea-A-Guide-To-Wizard101s-Waterworks-Dungeon
0 Response to "Is It Worth Getting Back Into Wizard 101"
Post a Comment